 Skip to main content

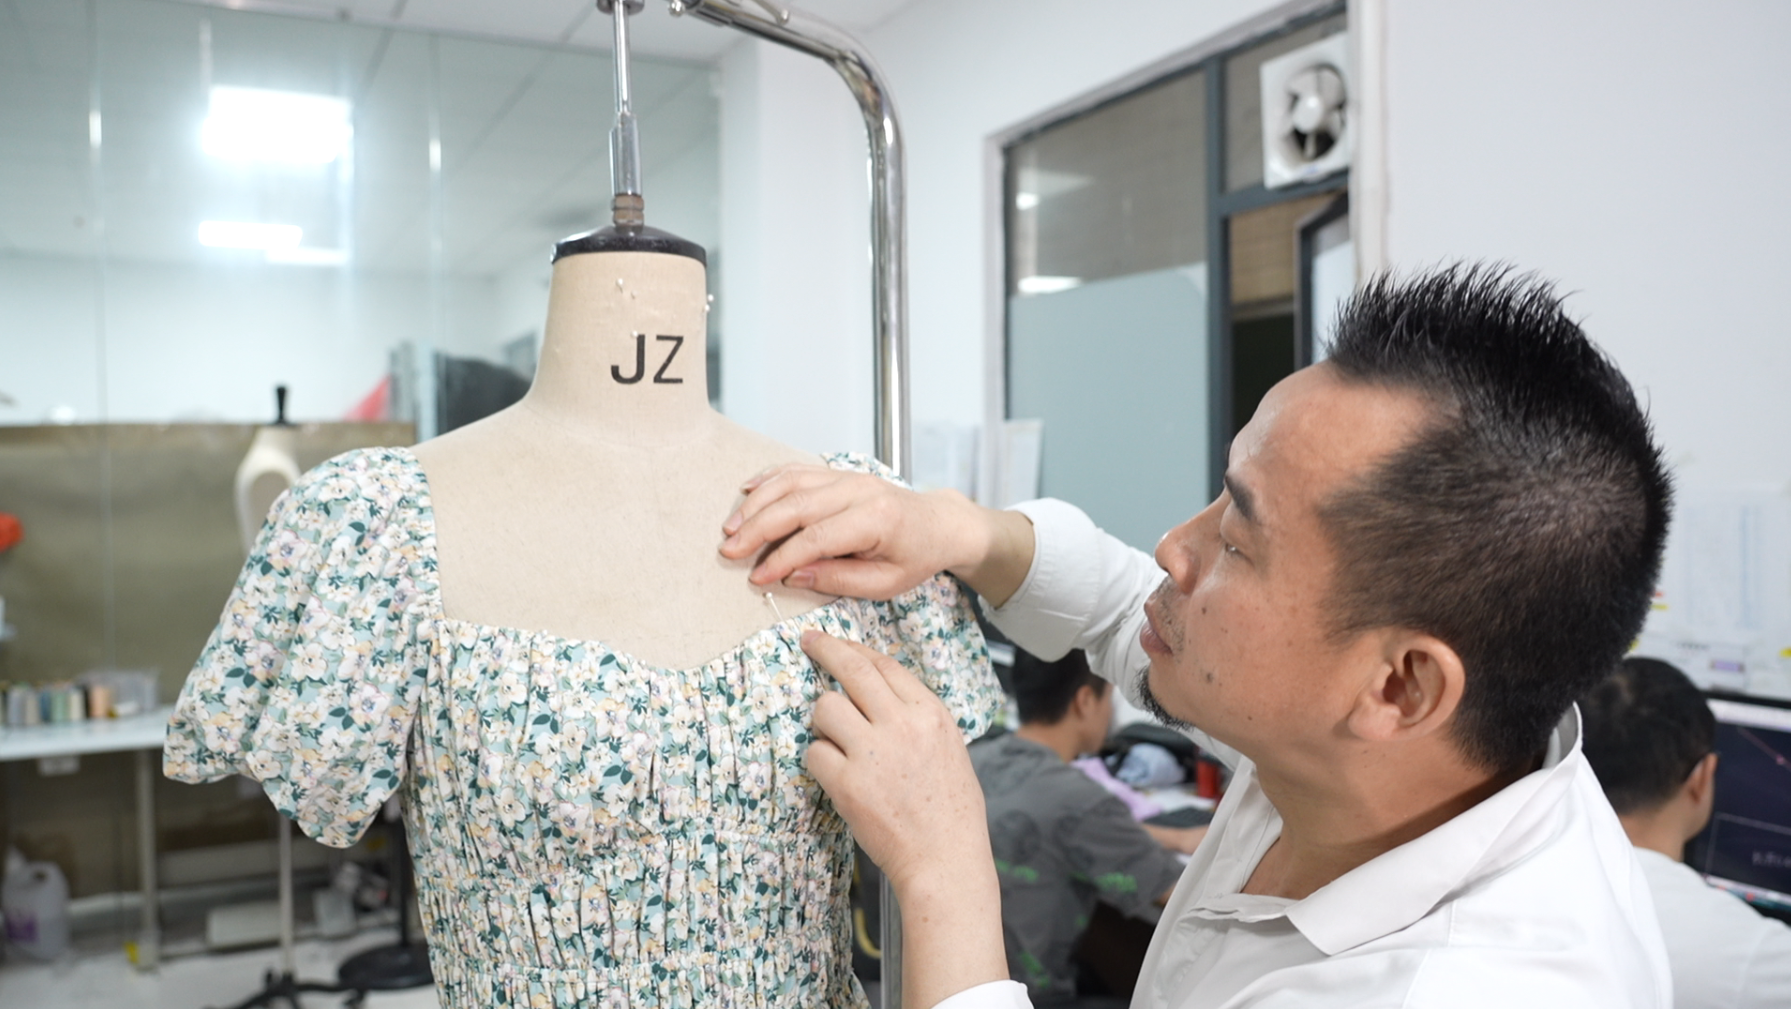

An approved sample shows how a garment should look and fit. A production team also needs a clear record of what was approved. If a fabric code changes, the size chart is updated in one file but not another, or a trim is ordered from an old reference, the sample alone will not settle the difference. This checklist is for womenswear brands moving a custom style from sample approval into a first bulk order. Use it to agree the production version with your manufacturer before materials are ordered or cutting…
An approved sample shows how a garment should look and fit. A production team also needs a clear record of what was approved. If a fabric code changes, the size chart is updated in one file but not another, or a trim is ordered from an old reference, the sample alone will not settle the difference.
This checklist is for womenswear brands moving a custom style from sample approval into a first bulk order. Use it to agree the production version with your manufacturer before materials are ordered or cutting begins. The precise documents will vary by style; the goal is one set of instructions that the buyer and production team can both identify.
1. Identify the approved version
Give the approved sample a style code, revision date, colourway and size. Keep dated photos showing the garment from several angles, including its interior and construction details. Record any differences between the physical sample and the intended bulk garment. A fit sample may use a temporary fabric, button or label. Those substitutions should be written down instead of left for the factory to infer.
Ask who holds the reference sample and whether a second sealed sample is needed. If your brand approves a change after sign-off, issue a new revision and state exactly which old instructions it replaces. Email threads are useful evidence, but a single current specification is easier to work from than several conflicting messages.
2. Freeze the material and trim decisions
For each fabric, identify the supplier or source reference and its approved swatch. Record composition and colour, along with the weight, construction or finish that matters to the design. Note which properties matter to the garment: drape, stretch, opacity, shrinkage, hand feel or print placement. A colour name such as “ivory” is not a sufficient production reference on its own.
List linings, interlinings, thread, zips, buttons, elastic, care labels and branded labels in the same way. Give the quantity and placement for each component. If an item is not yet approved, mark it as open and assign an owner and decision date. For custom materials, confirm supplier minimums and delivery dates before agreeing the order schedule. Our fabric sourcing brief explains what to send when these choices are still being developed.
3. Confirm measurements and the size range
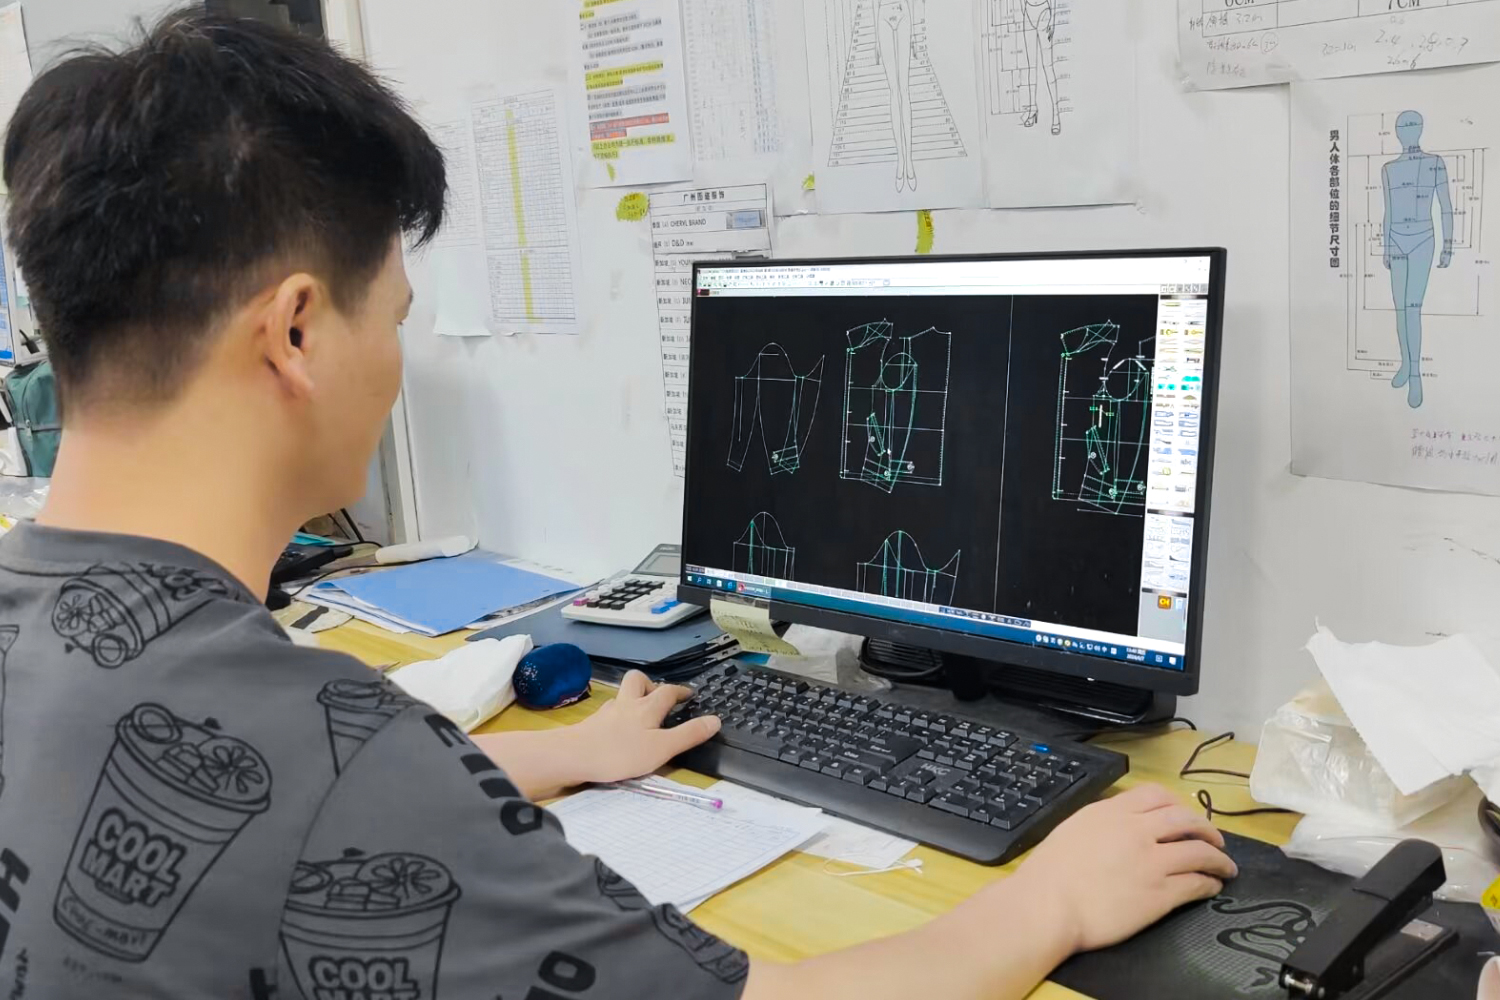
The production measurement chart should use the same points of measure as the approved sample. Specify how each point is measured, the target for each size and the agreed tolerance. Confirm which size was fitted and how the remaining sizes will be graded. A four-size order, for example, still needs a quantity breakdown by size and colour.
Do not treat a photo of a fitted sample as a complete size specification. Sleeve length, ease, neckline depth and hem shape can change the result even when a single chest measurement matches. Resolve open fit comments before bulk cutting, and decide whether another sample or size-set review is needed. See our fit approval guide for the earlier sign-off stage.
4. Record construction and finish
Identify seams, stitch types, hems, fastenings, pocket construction and any visible topstitching that must match the reference. Point out details that are easy to miss, such as the side on which a zip closes, the direction of a pleat or the position of a label. Where the approved sample was made by a different method, agree which construction applies to bulk.
Specify pressing, washing and other finishing requirements where they affect shape or appearance. If a test is required for your market or material, state the test method and the result you need, then confirm feasibility, timing and cost with the supplier. Do not assume every fabric or garment has the same testing plan.
5. Agree quantities, packaging and shipping instructions
Put the order quantity by style, colour and size in one table. Check it against the applicable minimum for each style or colour; do not assume unrelated styles can be combined. Confirm labels, hangtags, folding, individual bags, carton marks and destination requirements before these components are ordered. If a brand uses its own packaging artwork, send the print-ready file and approval reference.
State the delivery address, shipping terms and who will arrange transport. Clarify whether the quoted schedule ends at factory completion, final inspection, dispatch or arrival. Those are different dates. An agreed production calendar should show material readiness, any required approval points and the expected handover for shipment.
6. Decide how changes and checks will be handled
Before work starts, agree which checks happen at material receipt, during production and before packing. The checks should refer to the approved specification and any buyer requirements, not to a vague promise of “high quality.” Name the person who can approve a substitution or revision, and require a written record of the change, its cost and any effect on timing.
A practical handover pack starts with the approved sample reference and current tech pack. Add the material and trim list, size chart, colour standards, order breakdown, packaging instructions and an open-issues list. The factory may use its own forms, but your brand should be able to see which version is in use. For a broader view of the work between development and shipment, see TUER’s production services.
What to send TUER for a first order
Send your design or approved sample reference, target fabric and trim details, intended colours and sizes, quantity per style and colour, target market, packaging needs and any required tests. If some choices are open, tell us which ones. TUER can then review the development route and the information needed for a quotation. Our usual sample timing is 5–10 working days after all sample details are confirmed. A first bulk order is generally scheduled for 30–45 working days after order details and styles are confirmed, the deposit is received and fabric is ready; the actual schedule is agreed for the project.
If you are preparing a collection, send us the brief. We can identify the decisions that need to be closed before your approved sample becomes a production instruction.


